Professional (Sunless) Tanning Lessons
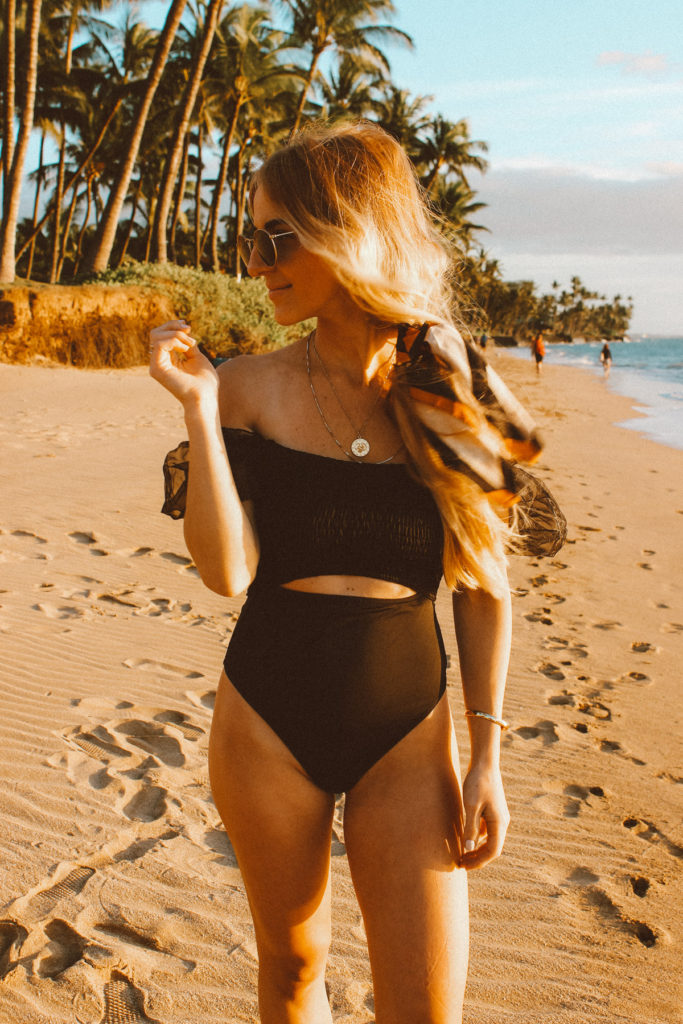
I’m always a little envious of those Snow White girls. You know, the ones who look absolutely incredible with that creamy, ivory complexion. The ones who look better pale than they do tan. I, sadly, am not that. No, no—definitely not. When I’m sporting Snow White skin, people ask me if I’m “feeling well.” They ask if I’m tired. Or if I have the flu. I desperately wish I was joking, but a pale Amy is a sickly looking Amy.
However, I also went to esthetics school as an eighteen year old girl and got the dangers of sun damage pounded into my skull. I can’t un-know that the too much sun exposure will yield wrinkles, pigmentation and skin cancer. I adore the tanning effects of the sun. But totally fear the damaging effects of the sun.
So here lies the conundrum. A girl who loves to be tan, who loathes looking like a ghost, but is also committed to healthy skin. What to do? Enter: sunless tanner—and years of trial error + endless product testing. I consider myself a sunless tanning pro, and if not that, at least an aficionado. I have tried dozens of products and application techniques. I’ve also professionally applied airbrush tans on clients—helping me finesse my technique (this is me flexing my tanning muscles so you believe me). Just trust that I’ve worn the orange palms and the splotchy legs, so you don’t have to. I’ve taken the self-tanning fails so you don’t have to.
So my friends, here are my top sunless tanning tips + my favorite bronze-inducing products, for your enjoyment and usage.
The Application:
1. I always apply sunless tanner the night before and sleep in it. It gives the product time to absorb, oxidize and deepen. You can sleep naked (Eeeep!) to avoid the lines that come from your clothes rubbing the solution off. If you don’t support that, just wear zero underwear and make sure your pajamas are extra baggy.
2. Darker sheets are recommended if you enjoy sunless tanner as much as me. I’ve had a lot of embarrassing orange sheet situations happen in my life. Made even more embarrassing if you’re on a vacation/staying at a friend’s house/at a hotel. TBH, I still have not learned this one. My sheets are currently off-white (they started out pristinely white). As I type this, I’m also looking up gray sheets online because last week I had another tan-sheet goof while at an AirBNB and enough is enough, Amy.
3. Exfoliate before tanning. Always. This is purposeful for two reasons. The first, being that sunless tanner works by attaching itself to dead skin cells (this is why your hands, feet, ankles, elbows, and wrists tend to get darker). If your skin is freshly exfoliated, you’ll get a more even application. Be sure to exfoliate those dead-skin-heavy areas I listed before (hands, ankles, etc). The second reason, is that if the product does attach to dead skin cells, it’ll be sloughed off as your skin sheds. Our skin is always shedding, naturally. If you can exfoliate that outer layer off, your tan will LAST LONGER. I recommend using exfoliating gloves because they are cheap, reusable (just throw them in the washing machine) and they work so so well.
4. Shaving before tanning is a no-brainer (and also a form of exfoliation, so BONUS), but shaving also leaves pores open and susceptible to being filled with tanner. Have you ever seen your legs, chest or bikini area looking “dotted” after applying tanner? To avoid looking like you have a million tiny blackheads, my trick is this—apply ice. Cold temperatures prompt the pores to tighten. So before I sunless tan, I either roll my favorite ice roller over my skin, or apply a frozen bag of vegetables (like peas!) to the area. But the simplest way of doing this, in my opinion, is rinsing in cold water after shaving, before exiting the shower.
5. I apply the product using a tanning mitt, in circular motions. Tiny little circles buffs the solution into the skin nicely. If you don’t have a mitt, you can use your hand—I’d just make sure it’s exfoliated first and also, wash it frequently between applying different body regions. I’ll apply tanner to one leg, wash hand, apply to the second leg, wash hand, and so on.
6. I apply a “barrier cream” to my knees, ankles, bottoms of feet, in-between boobs (it weirdly collects there), hands and elbows + any other regions that tend to “build up” darkly. You can apply any cream or lotion (this is my favorite) in a sheer layer to the area and it’ll act as a barrier in stopping the tan from developing too deeply. Since those dry areas soak up moisture, they can get dark/splotchy more easily. By giving your skin the moisture it wants first, it’ll be less likely to darken once you apply a sunless tanner. This helps the tan to blend SO much more seamlessly. Applying lotion to these problem areas first, helps the tan to fade nicely.
**I also start applying at the mid-section of any given area, then blend outward. For example, I’ll apply the product on my calf, then rub outward, toward the knee & ankle. I think that’s another good trick for avoiding those orange/dark “problem” areas.
7. To get your tan to actually last, keep your skin well fed. Meaning, keep it moisturized. Keep your cells hydrated, babe! I love applying this body oil daily, after showering, and have found it makes my tan last 2-3x longer.
8. To lighten a tan that’s too dark, curdled milk works best! This sounds disgusting—hear me out though. If you’ve watched The Wedding Planner, you maybe remember the part where she tells the bride to put lemon on her bright orange skin to lighten it? The acidity of the lemon is what lightens, but that’s often way too harsh. We’re not actually going to use 3-week-old chunky sour milk (GROSS), we’re making our own! SO, get a glass of milk (you can use a plant based option) then squeeze a couple tablespoons of lemon juice into it and wait for it to curdle. Apply the solution with a wash cloth and buff away. THIS WORKS.
9. When the time comes to strip skin of the old faded tan, I use the same exfoliating glove and a creamy body wash to exfoliate the splotchy parts away.
Now for the fun part. The goods…
The Products
- The Holy Grail: Vita Liberata “pHenomenal 2-3 Week Tinted Tan”
This is my go-to. My tried and true. It applies beautifully, lasts long (10-14 days for me) and has a beautiful undertone! Never orange, just bronze. **I apply with this mitt.
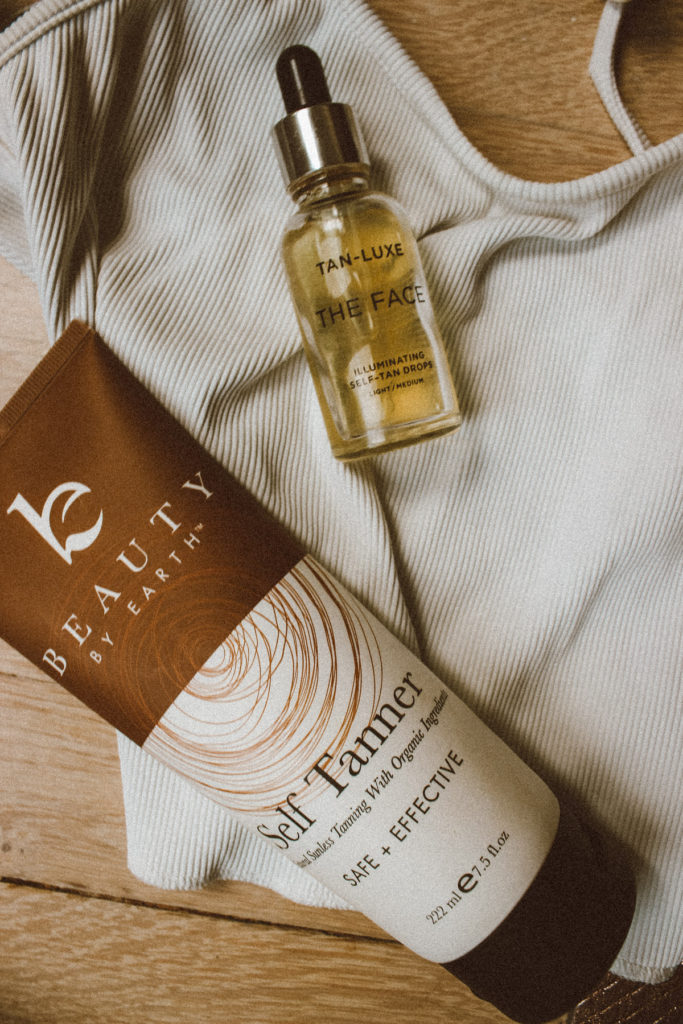
- The Non-Toxic: “Beauty, By Earth”
This is an Amazon beauty find, that I’m forever grateful to have found. It’s made up of natural and organic ingredients, which I’m grateful for as I’m slowly cleaning up my beauty products (after cleaning my food and nutrition). I apply this lotion and let it “soak” in before blending again. When I first applied it, I was bugged that it looked white atop my skin, almost like sunscreen. But applying it, waiting 2-3 minutes, then rubbing again is the winning application method. I apply with my hands and wash them throughout the process. (This product has over 3500 positive reviews!)
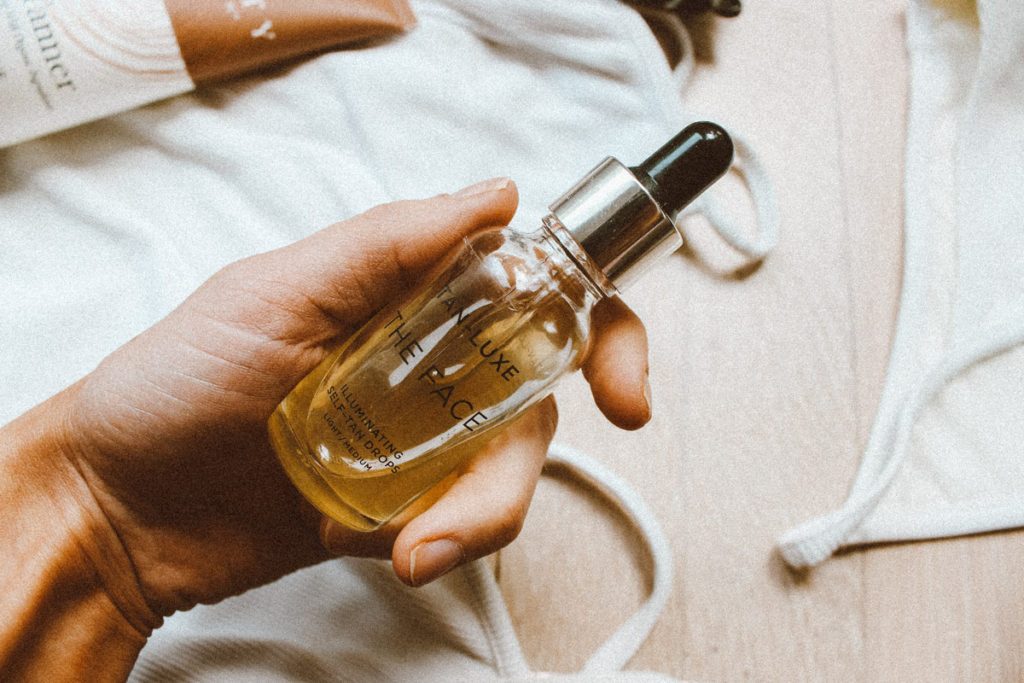
- The Face: Tan-Luxe The Face
These tanning drops are my favorite for achieving a sun-kissed face without gunking up my pores! I’ve found that so many products (even strict face tanners) are so comedogenic on my skin. I’d rather have a pale face than an acneic face—but this product causes me ZERO breakouts. I just mix 3-4 drops in with my nighttime lotion or face oil and wake up looking like I went to the Bahamas in my dreams.
- The Drugstore: Jergens Natural Glow + Firming
I’ve used this product for YEARS and it’s never once failed me. Not once. The pros are the its cheap, effective, and customizable (if you want more of a tan, apply more layers). The cons are that it’s a gradual glow. Which means it could take days to achieve the deep color you want. This product isn’t an overnight success. It’s a slow burn. It’s not a sprint, it’s a marathon. You get the point. I love it for a natural glow, when I want a subtle, non-obvious tan. **I get the Medium-Dark formula + Firming because I’ve found that I get a darker color and the firming agent absolutely works.

Bronze Bonus:
Favorite Face Bronzer: Drugstore, Physicians Formula Butter Bronzer Designer, Chanel Soleil Tan de Chanel
Glow Makeup Drops: Cover FX Custom Enhancer Drops (I get “Sunlight”)
Body Bronzer: Vita Liberata Body Blur Instant HD Skin Finish